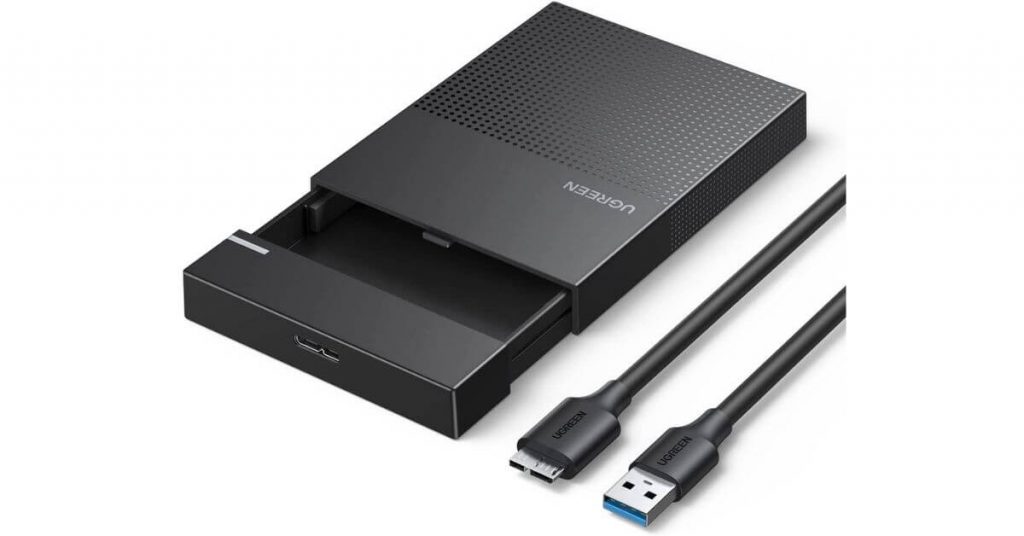
It’s easy to carry or back up data with USB drives. When you format a USB drive, you erase all previously stored data and set the file system it will use. File systems serve as instructions to the drive about how to store the data that will be written, read, or deleted. It depends on the type of device it will be used with what type of file system is required on the USB drive.
You can usually tell if your device is incompatible with a USB drive when it alerts you to format it if it detects an incompatible file system that should be formatted by looking at its documentation. In the below guide, we will discuss How to Reformat USB on MAC?
Types of USB Drives
USB drives may come in a variety of physical forms, but the process is the same:
USB flash drives

External USB hard drives or solid-state drives

Complete Guide How to Reformat USB on MAC?
When this process is completed, all data on the USB drive will be erased. Before proceeding, ensure that the drive is blank, or copy the data to a safe location.
- USB drives can be inserted into “USB ports”.
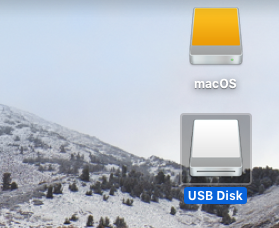
- The drive will be recognized by “macOS” and its icon will appear on the “Desktop”.

Launch “Disk Utility”.
- Click on the “Search Button” in the top-right corner.

- And Type “Disk Utility”. Choose the Disk Utility from the search result.

- Go to the left list and select your “USB drive”.

- At the top, click “Erase”.

- Write a “Name” for drive and also select the “Format”.

- Below are the available format types.

- Choose “Erase”.

- You will see a progress bar. Wait until the drive is formatted.

- When you are done, click Done.

- At the top of the screen, click the Disk Utility menu, and then select Quit Disk Utility.


